Do You Know How You Can Make a Fibreglass Pond Lining?
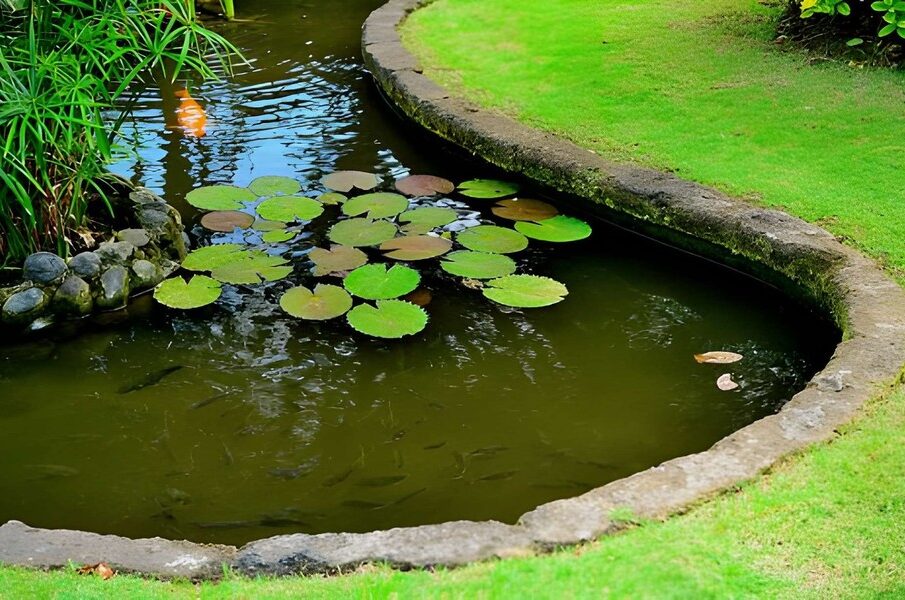
Building a pond feels peaceful, until leaks or wear appear too soon. Not all liners perform the same. Fibreglass lining creates a strong, seamless shell that resists damage, and once installed properly, it lasts reliably with minimal ongoing maintenance.
Make sure you choose experts like That Pond Guy for the best Cambridgeshire pond fibreglassing. They are known for doing things the right way, no rushing, no cutting corners. And that is important here. Because fibre-glassing is not just an “apply and done” kind of task. It is layered, careful work. Miss one step, and things can go wrong later. Not immediately, which makes it worse.
Step 1: Preparation Comes First
This is the part people underestimate. A lot.
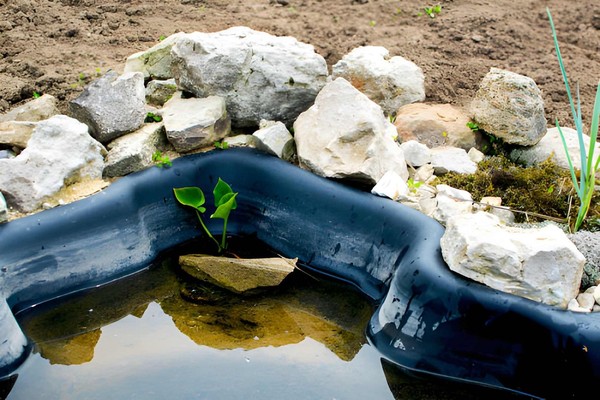
- Drain the pond completely
- Remove any old liner, sludge, debris
- Repair cracks or uneven patches
- Let everything dry properly
Even a little moisture can interfere with bonding. It does not seem like a big deal at the time, but it is.
Step 2: Get the Surface Ready
Once cleaned, the surface needs attention. Not perfection, but close.
- Smooth rough or jagged areas
- Sand down sharp edges
- Clear off dust and loose particles
Dust is sneaky. It looks harmless, but it weakens adhesion. And then later, you get issues you did not expect.
Step 3: Primer (Optional, but Not Really)
Some skip this. Many regret it.
- Apply a thin, even layer
- Allow it to become slightly tacky
It helps the fibreglass stick better. Adds reliability. It is one such “small effort that makes a big difference” step.
Step 4: Position the Fibreglass Mat
Now things start to take shape.
- Cut matting slightly larger than the surface
- Overlap edges a little
- Lay everything out before adding resin
Planning here saves you from messy adjustments later. Trust me, adjusting soaked matting is not fun.
Step 5: Resin Application (The Tricky Bit)
This step needs focus. And patience.
- Mix the resin with the catalyst carefully
- Apply evenly across the mat
- Use a roller to remove trapped air
You will notice the mat turning transparent; that is a good sign. It means the resin is soaking through properly. If it stays white in spots, something is off.
Step 6: Let It Cure
And now, you wait.
- Usually takes 12-24 hours
- Keep the surface dry and undisturbed
It is tempting to check or rush ahead. But you need not. This stage decides how strong the final structure will be.
Step 7: Finishing With Topcoat
This is where it all comes together.
The result? A sleek, glass-like surface that is both functional and nice to look at.
Final Thoughts
Fibreglass pond lining is not beginner-friendly. It is messy, sometimes frustrating, and you may doubt yourself midway; that is normal. But when done right, it creates a durable, seamless finish with no weak spots. Still, many choose professionals, since small mistakes are not obvious at first, but tend to surface later on.